-40%
Commodore PET 2001 Chiclet Keyboard repair 3D printed stem plunger chiklet
$ 9.76
- Description
- Size Guide
Description
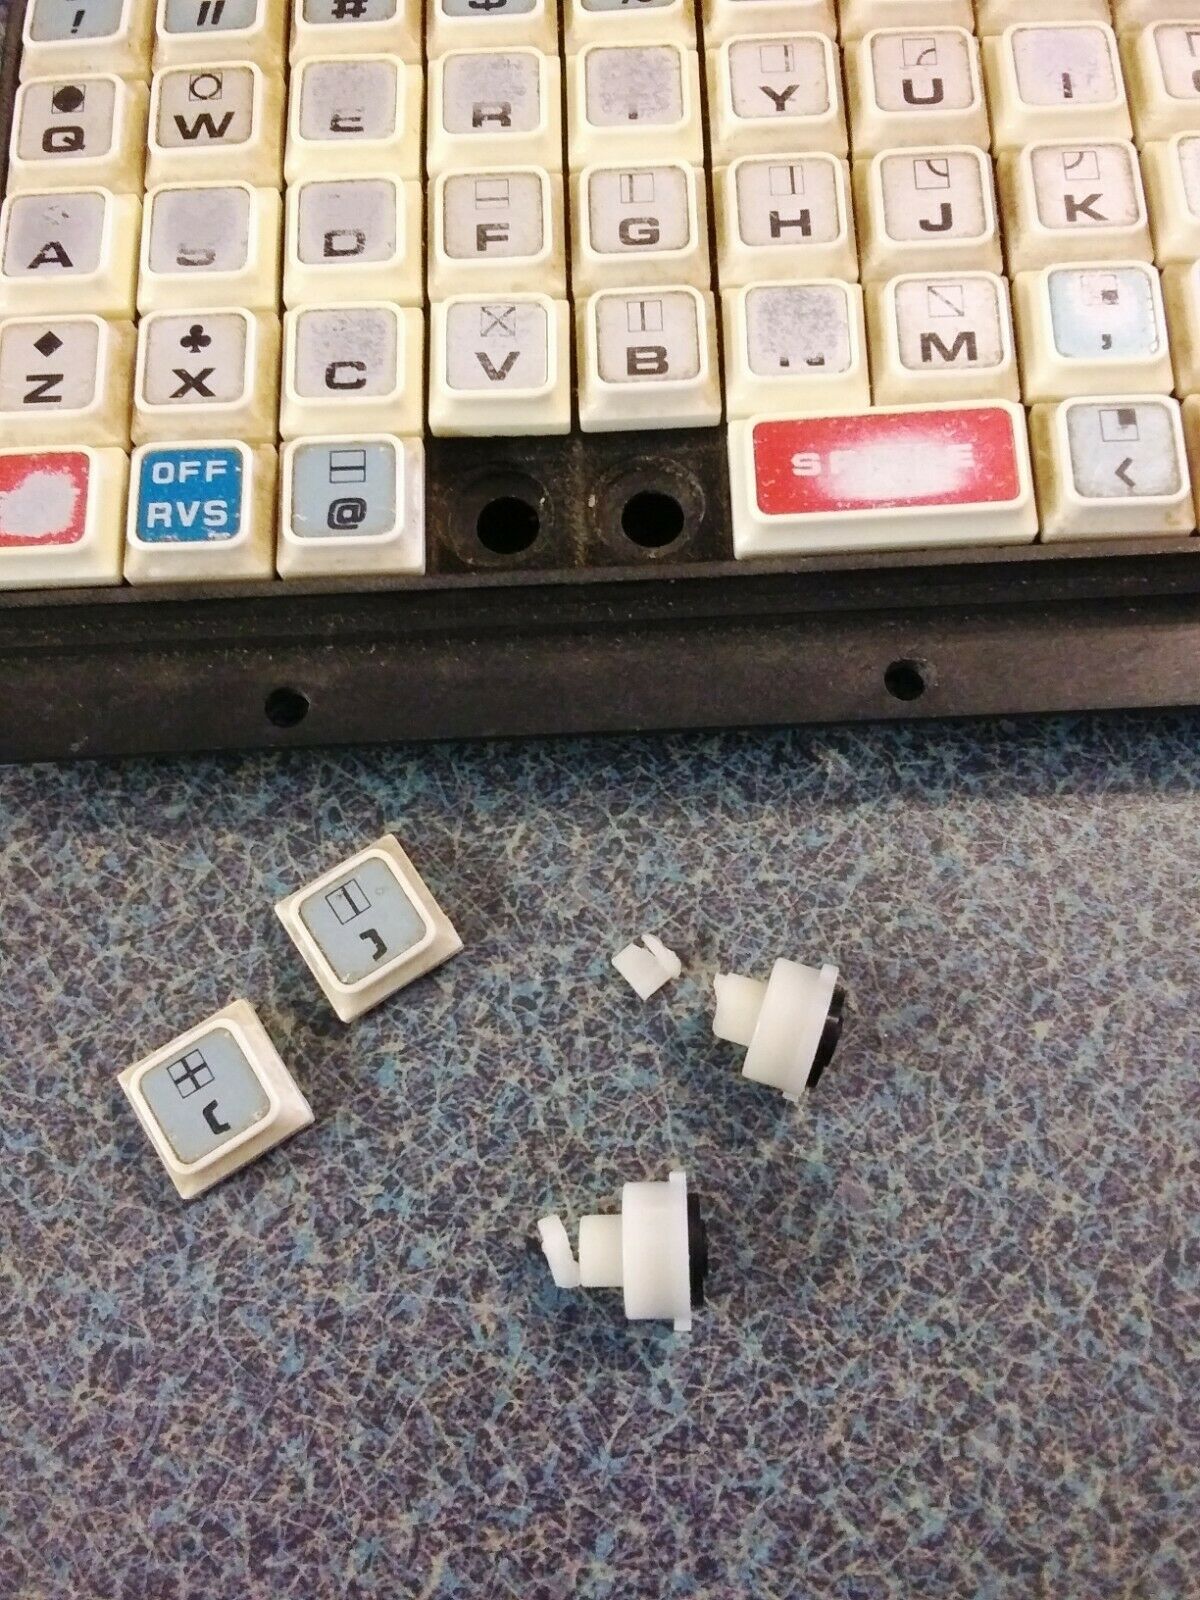
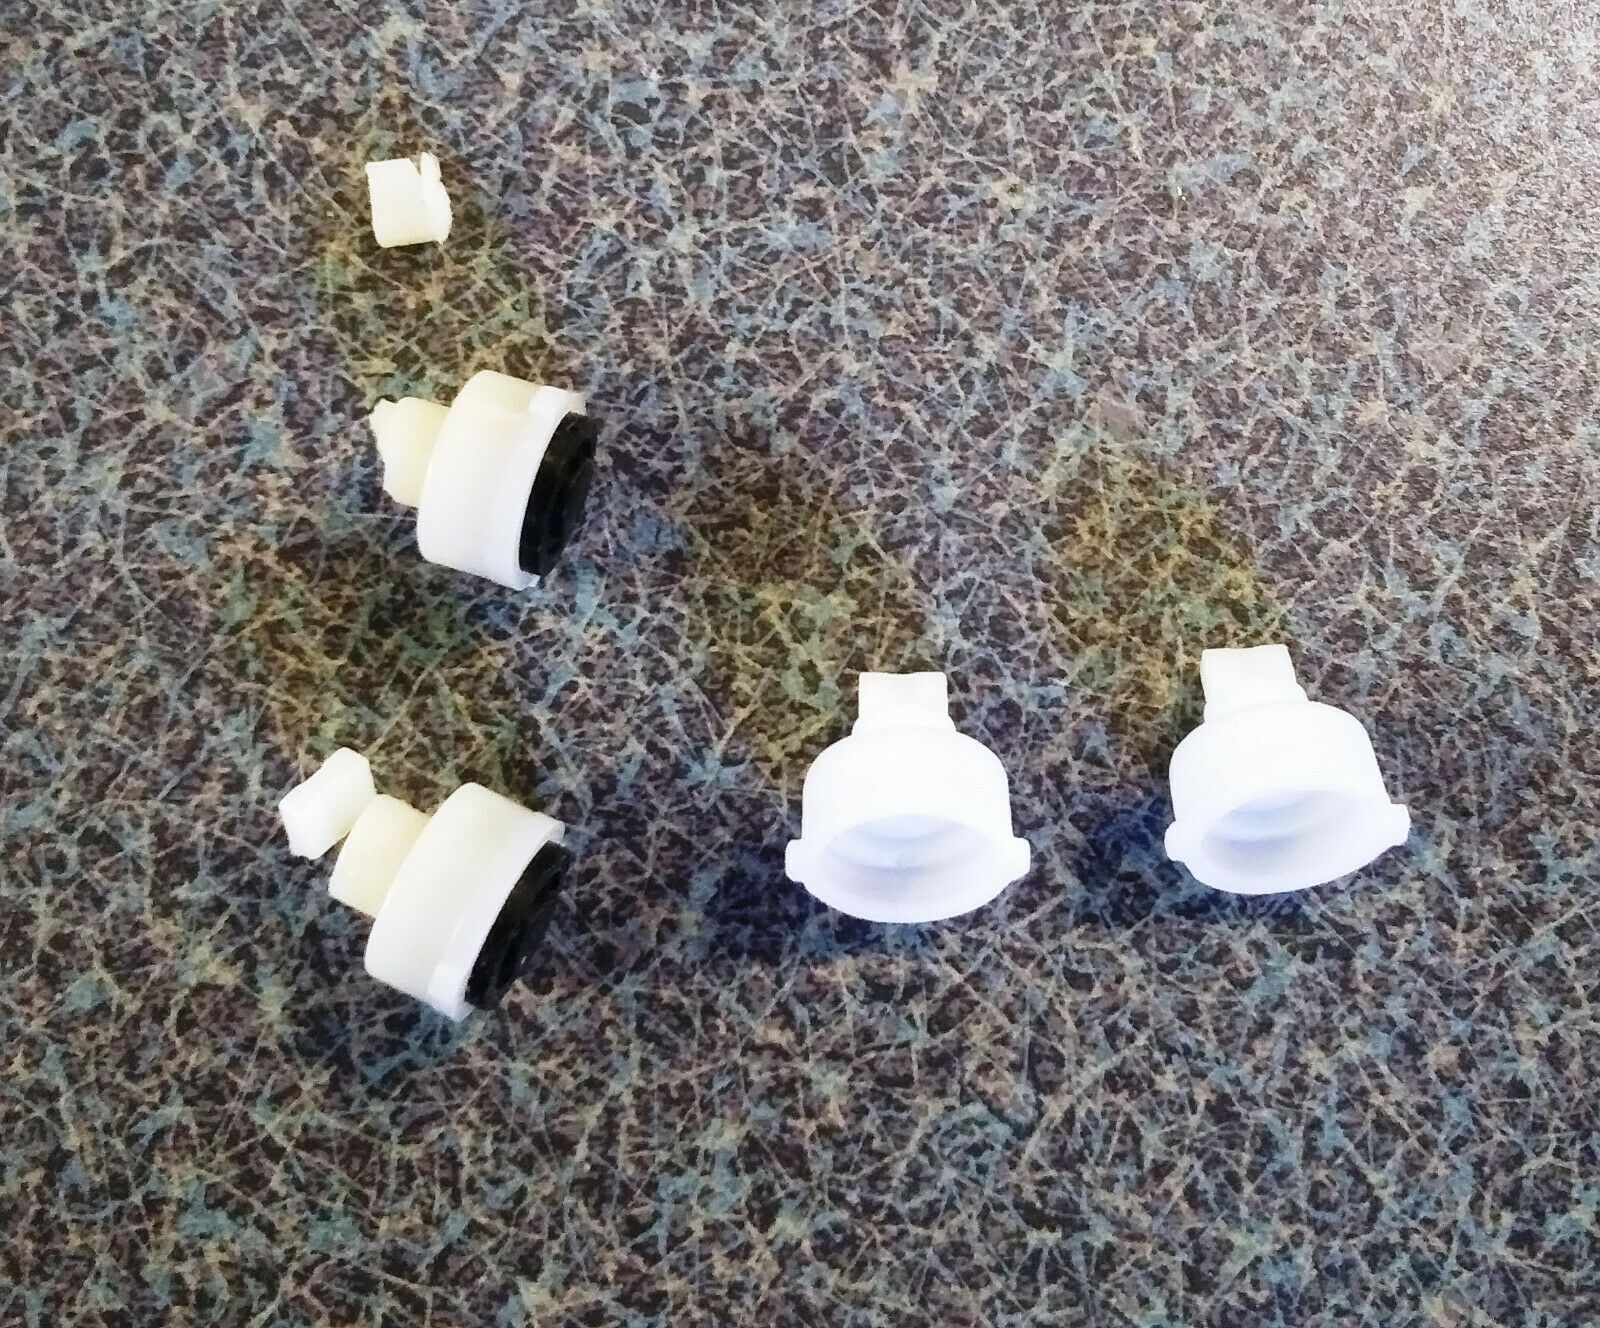
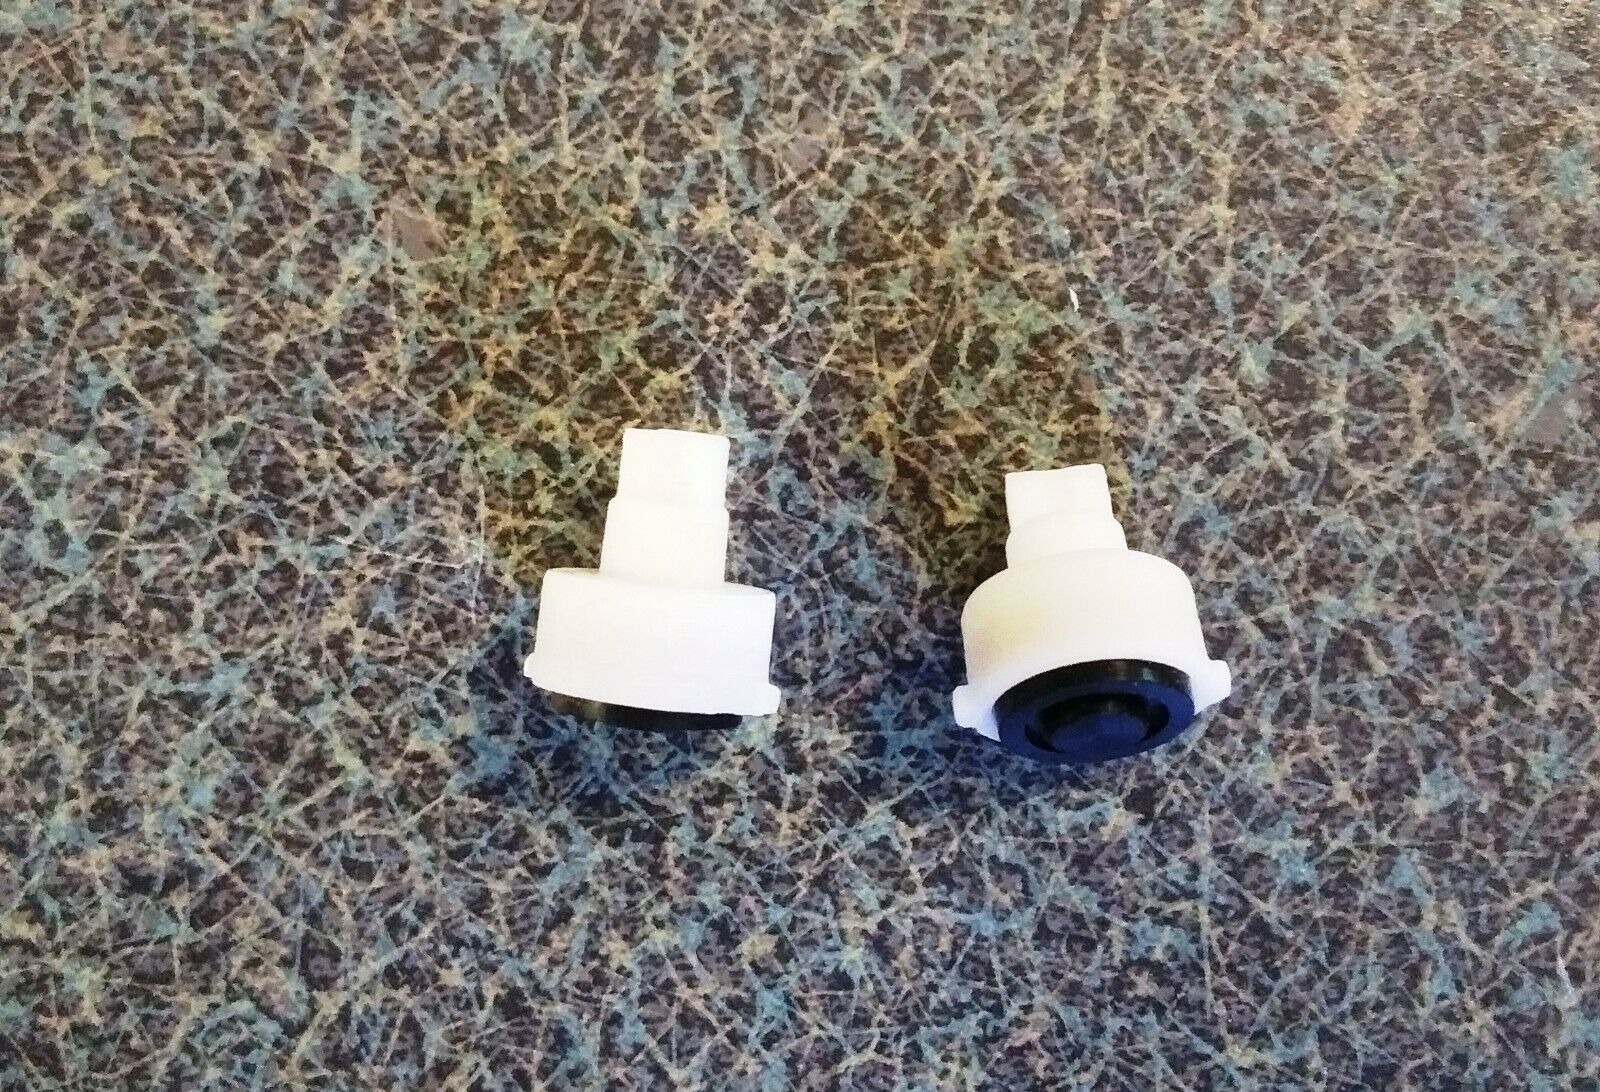
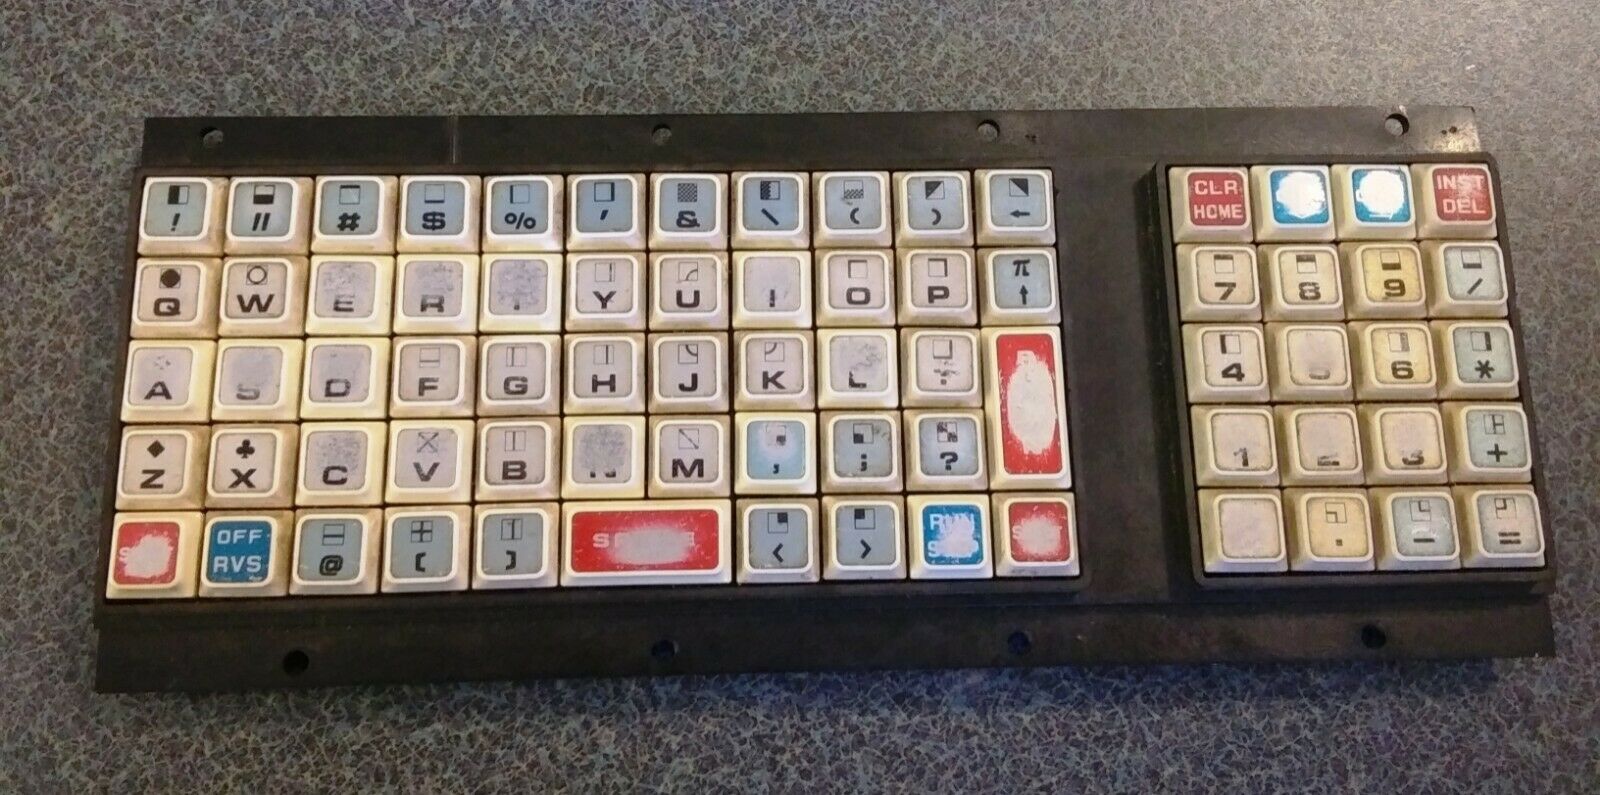
I am selling a brand new 3D printed Commodore PET 2001 (2001-4 and 2001-8) keyboard Stem/Plunger for original model with a chiclet keyboard.Listing is for one (QTY 1) Plunger / stem
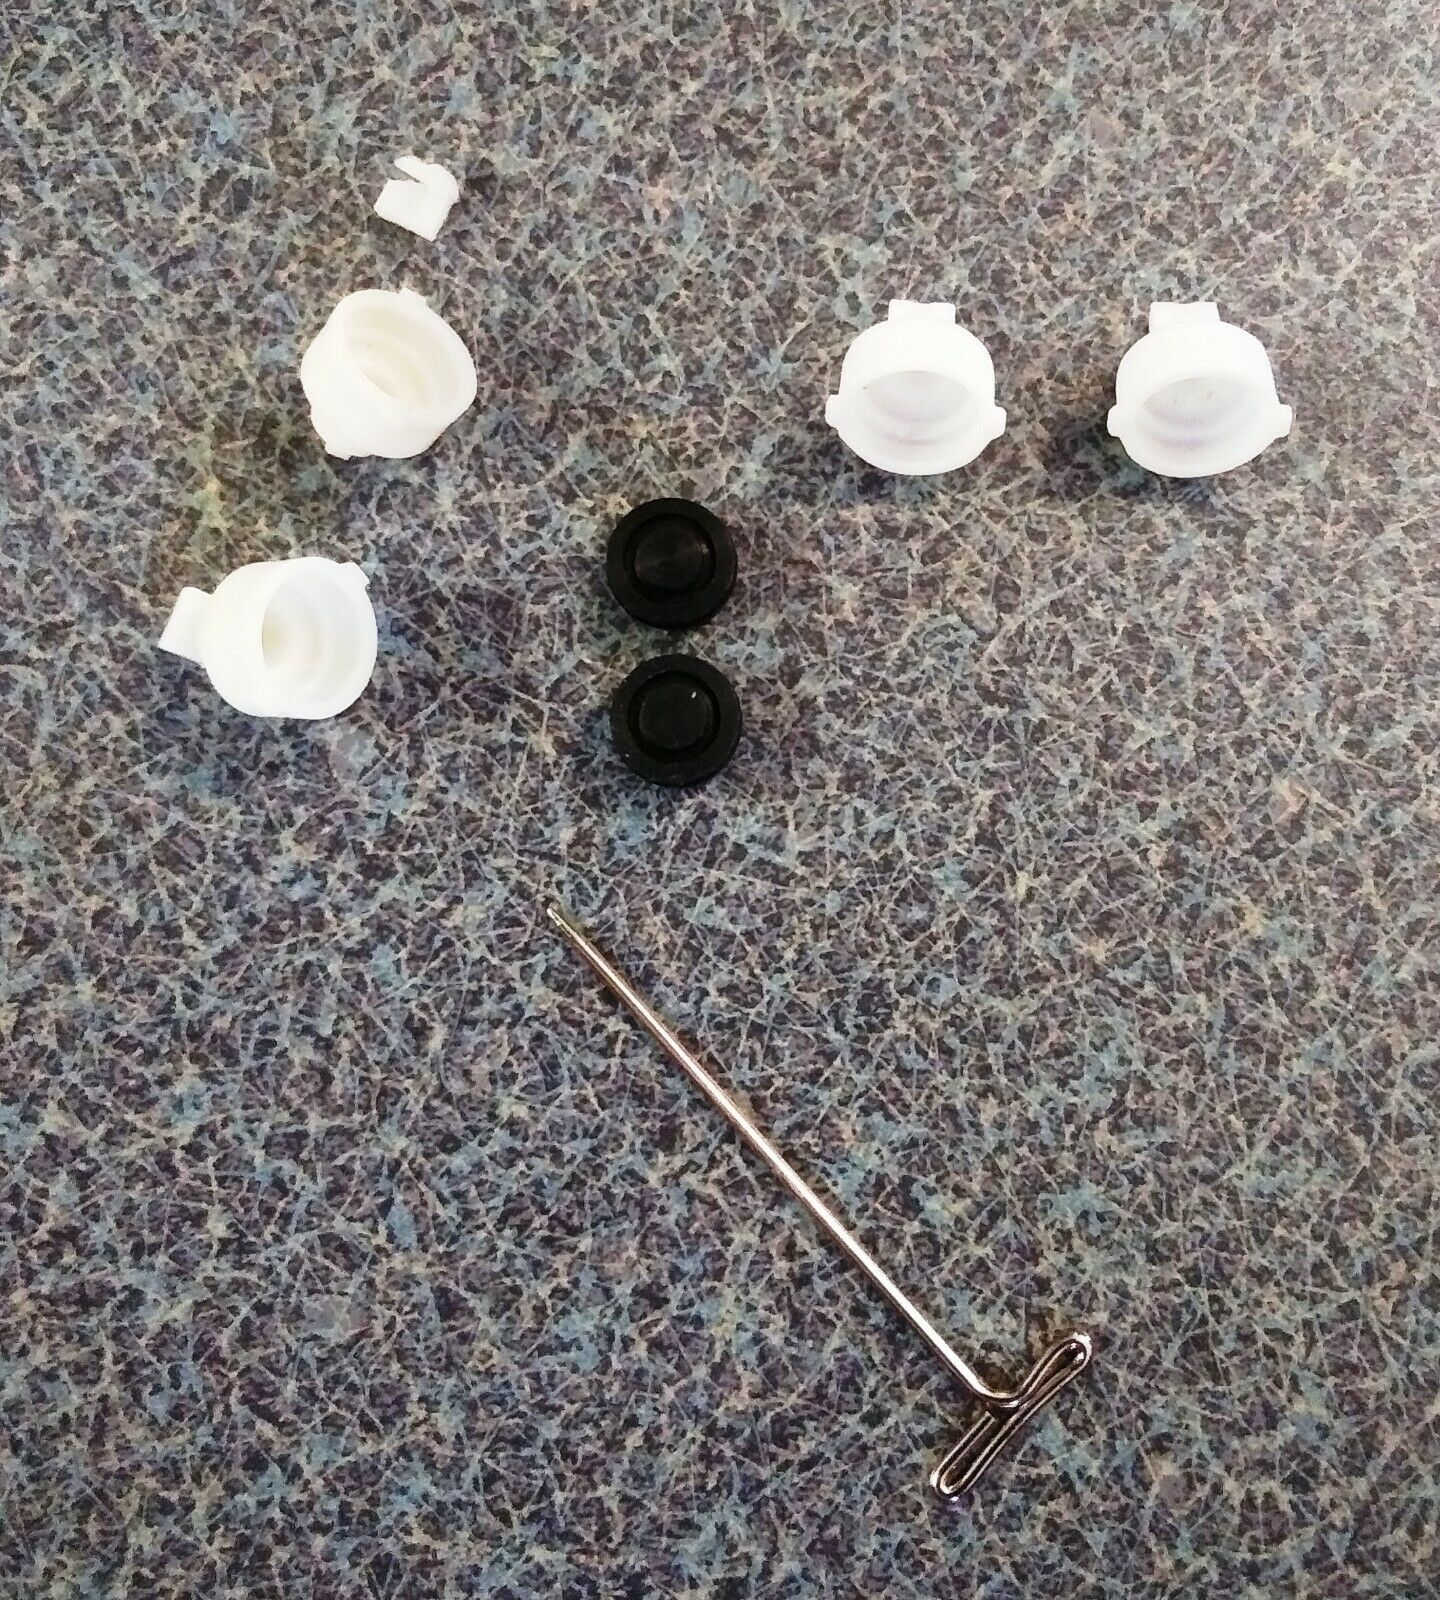
See photos for various stages of install and description.
As you know parts for the original 2001 Chiclet Model PET are impossible to find or cost a fortune.
Mishandling and improper storage over the past 40+ years has caused many PET's to have broken keyboards.
With this new stem/plunger you can finally repair your PET's keyboard to working condition!
How to install:
Unscrew keyboard and disconnect KB cable from inside the unit. (dont lose all the screws there will be many)
Unscrew the PCB from the underside of the keyboard. This will separate the unit into the main keyboard plastic tray and the circuit board.
Use this time to lightly wipe the pcb with some 91% or higher isopropyl alcohol to remove dust and grime (many were in schools for years!)
You will need to have the bottom portion of the broken stem/plunger to do this repair and if noone opened the keyboard is should still be inside. Remove the broken plunger and using a small pin or needle pop out the rubber contact. DO NOT pierce the rubber pad just pry it out gently.
insert the brand new plunger into the space on the keyboard, install the spring and keycap ontop. This will NOT fully seat the plunger, use a firm and sturdy tool like a small hex key to push the plunger into the keycap from underneath. You should feel it set into place. IF the unit feels really scratchy or hangs up when pressed its not pushed in all the way. Once you are sure the plunger is firmly pushed on, insert the rubber pad.
NOTE: if the keys dont make good contact, this is normal they are old. You need to buy a carbon paint used to repair remote controls to paint onto each rubber pads surface to make good contact again. DO NOT USE AN ERASER, THAT is bad advice going around and will only make things worse. Contact me if you need help finding the carbon paint.
Test to make sure the keys fully travel and return when pressed, adjust if necessary and reassemble keyboard and test! Thats it your done!
If you need to purchase replacement keyboard springs, contact me I may still have a few!
Please contact me with any questions prior to purchasing/bidding.
I restore and repair vintage technology for a living. Please feel free to get in touch with me with anything at all. Even if you purchased something from me along time ago, I am here to help and answer questions.
